
If you’re looking for a delicious christmas pudding that doesn’t contain any wheat or dairy, look no further. The link will take you to the December 2014 edition of the Eczema Bulletin. Just scroll down to Tip of the Month to find the recipe and a couple of photos I took of my attempt  You’ll notice that there is potato in the list of ingredients…don’t let that put you off. Enjoy
Eczema Blog


Tag Archives: Recipe
The Recipe For Dry Skin Care
Dry skin cannot be ignored. Dry skin leads to cracking of the upper layer of skin and gives it a real bad appearance. The main causes of dry skin include: dry climate, hormonal changes, too much exfoliation and treatment of other skin disorders. Moreover, dryness could be the inherent nature of ones skin. Whatever be the cause, dry skin care is very important (but not very difficult).
Dry skin care starts with moisturisers, the most effective remedy for dry skin. Generally moisturisers are classified under 2 categories based on the way they provide dry skin care.
The first category includes moisturisers that provide dry skin care just by preserving the moisture within the skin e.g. Vaseline. These moisturisers are relatively inexpensive and are readily available (even at grocery shops).
The second category includes moisturisers that work by drawing moisture from the environment and supplying it to the skin. This is a very effective way of dry skin care in humid conditions. The moisturisers that provide dry skin care in this way are also called humectants. For proper dry skin care, you must use a non-greasy type of moisturiser, as far as possible. Humectants fall in this category. The ingredients of humectants include propylene glycol, urea, glycerine, hyaluronic acid etc
Dry skin care is not about just using moisturisers but also using them properly. The best dry skin care procedure is to cleanse the skin before the application of moisturiser. You can make your dry skin care even more effective by applying the moisturiser while the skin is still damp (after cleansing). Also, make sure that you use soap-free products (especially on your face, neck and arms). Exfoliation does help in dry skin care, by removing the dead skin cells. However, dont exfoliate too hard. Your dry skin care procedures/products should also take care of sun protection. Avoid too much and too direct exposure to sun (simply by using an umbrella/hat etc). Use a good sunscreen lotion before going out. A lot of moisturisers provide sun protection too, along with dry skin care.
You also have natural products for dry skin care i.e. products that provide dry skin care in a natural way (without the use of synthetic chemicals). These dry skin care products supply lipid enhancements to the skin, hence enabling moisture retention within the skin. Another, important thing for dry skin care is the temperature of water you use for shower or for washing your face Use warm water; too hot or too cold water can cause dryness too.
Dry skin care is also about being gentle with your skin. You should avoid harsh detergents and alcohol based cleansers. Also, after a face wash, do not rub your towel on your face, just pat gently to soak the water off.
On the whole, dry skin care is really simple for anyone who takes that seriously.
Pancake recipe for Shrove Tuesday
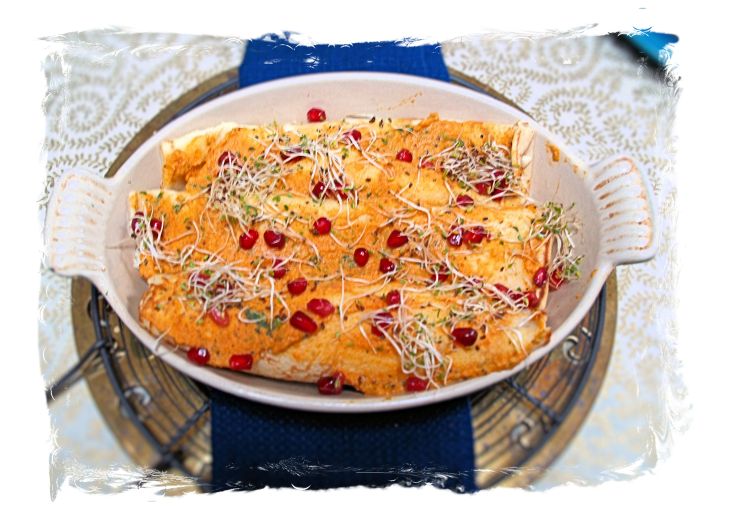
Here is a savoury choice instead of the sweet varieties of pancake often eaten on Shrove Tuesday. It is a Moroccan themed meal.
Ingredients
Pancake batter
2 large eggs
150g of plain gluten free flour mix
75g of maize flour
500ml lactose free milk
Salt to taste.
Filling
Spinach (1 bag)
1 flat spoon of Moroccan spice mix (check for fodmaps)
1 teaspoon of oil
Juice of 1 lemon
Salt
Topping
6 carrots
Handful of coriander leaves
Salt
2 cooked chicken breasts
Method
Mix all the pancake ingredients together till smooth
Leave in the fridge of at least 2 hours
Fry thin discs of the batter in a frying pan.
Filling
Wilt the spinach in boiling water.
Fry the spice in the oil to release the flavour and add the lemon juice and salt.
Drain the spinach in a colander and blend with the spice mix in a blender.
Topping
Slice and cook the carrot till soft.
Drain and add coriander leaves and salt to taste
Blend till smooth.
Making up the pancakes:
Take a pancake and add some spinach, lay on the top sliced cooked chicken and some of the carrot mix.
Wrap the pancake up and add to a heatproof dish.
Repeat till the dish is full and spread the rest of the pureed carrot on the top.
Warm through and serve with a small amount of pomegranate seeds and alfalfa leaves.

![]()
Easy Homemade Pizza Dough Recipe

Pizza dough recipe
Something a little different from my usual content but as it’s a new year, there are new things to share and new directions to explore!
After being repeatedly asked for the recipe whenever I’ve made pizza for friends and family I thought I’d do a little post and pop the recipe here so if you want to, you can print it and try it for yourselves.
There are hundreds of pizza dough recipes online and after trying a few of them, this is the one I keep going back to both in terms of its ease and because most importantly, it produces a yummy pizza.
I’ve shared before Ella and Lucy’s love of helping in the kitchen. Ella especially, learns by doing and by being involved (in this case getting covered in flour and sticky pizza dough hands!). I feel it is important for both our girls to learn life skills such as cooking and baking even though they are still relatively young. They both enjoy their food so the end product is always a good motivation for them to help out too. I’ve also been taking them to a weekly cooking class for the last few months and they both love it.
This pizza dough recipe involves lots of different activities and learning opportunities – measuring, mixing, pouring, kneading and of course eating! There are lots of different ways of approaching this activity with younger children as it incorporates lots of different skills. Maths, quantities, weighing & counting, hand eye co-ordination and using fine and gross motor skills. Children can get involved in the dough making process or for younger children (and those of you who like to keep your children and kitchens clean), adding the sauce and toppings may be where they can get more involved.
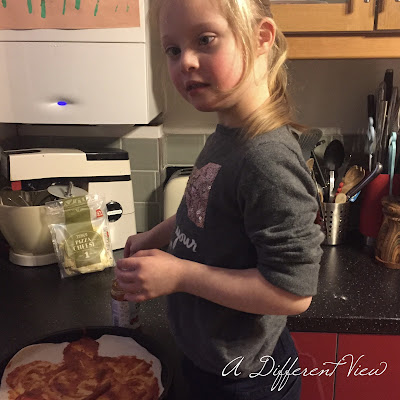


Ella can now top her own pizza with very little help. I provide the jar of sauce and a spoon and the cheese and (almost) leave her to it! We’ve found that although the girls love to adorn their pizzas with lots of toppings, once cooked they take everything off again so I just leave theirs quite plain.


‘I did it mummy!’
Making our own Pizzas has become a weekly activity in our house now and is something we all enjoy doing. I appreciate it’s very easy to buy a pizza but making your own is a lot more satisfying and really doesn’t take much more time or effort than a ready made one. Once you’ve mastered the basic recipe, you can be as creative as you like both with the dough and the toppings.
I have got in the habit of keeping a tomato based pizza sauce in the cupboard and some grated mozarella/pizza cheese in the fridge. There are only 4 ingredients in the dough recipe itself which most people will already have in their store cupboards. This is also a versatile recipe – you can make the dough ahead of time or to use straight away.
Ingredients – quantities provided make x2 10 inch (thin crust) pizzas
10 oz Plain Flour (’00’ grade if you can get it but regular plain is fine)
6 fl oz warm water
1 tsp fast acting dried yeast
1 tsp salt

Method
1. Weigh out your flour and put it into a large mixing bowl along with the salt
2. In a measuring jug measure out the water (should be warm but not hot or you’ll kill the yeast – I use water from a recently boiled kettle and dilute until warm)
3. Add the yeast to the water in the jug and stir until dissolved

4. Add the water/yeast mixture to your bowl with the flour and salt in it
5. Mix using a fork or your hands until the mixture has come together. Don’t worry about making one clump of dough at this point, it wont properly come together until you start to knead it. I find it is much easier to tip the roughly mixed contents of the bowl out onto the worktop and begin to knead it to bring it all together
6. Knead for 5 mins, or until the dough is smooth and elastic then shape into a ball

(you can skip step 7 & 8 if you’re in a hurry…)
7. Using a small amount of olive oil, grease a mixing bowl and place the dough into the bowl. Cover with cling film and leave somewhere warm/room temp to rise
8. Leave to rise for at least an hour

9. Then roll out your dough as thin as you like and place on a floured or oiled baking tray. Top with whatever your favourite toppings are. Alternatively knock the air out of the dough, loosely wrap in cling film (it will continue to expand) and keep in the fridge for up to 3 days if you want to save some for later.
10. Bake for approx 10mins at 200C (180C fan)
Enjoy!
Nov 22, Allergy Free Christmas Pudding Recipe
If you’re looking for a delicious christmas pudding that doesn’t contain any wheat or dairy, look no further. The link will take you to the December 2014 edition of the Eczema Bulletin. Just scroll down to Tip of the Month to find the recipe and a couple of photos I took of my attempt You’ll notice that there is potato in the list of ingredients…don’t let that put you off. Enjoy
Eczema Blog